This article will give you a list with thirty tools professional gardeners use every day.
Given the wide variety of gardening tools that are available, we selected the best 30. These were chosen based upon their popularity in the industry and our personal opinion.
- Long Handled Dibber
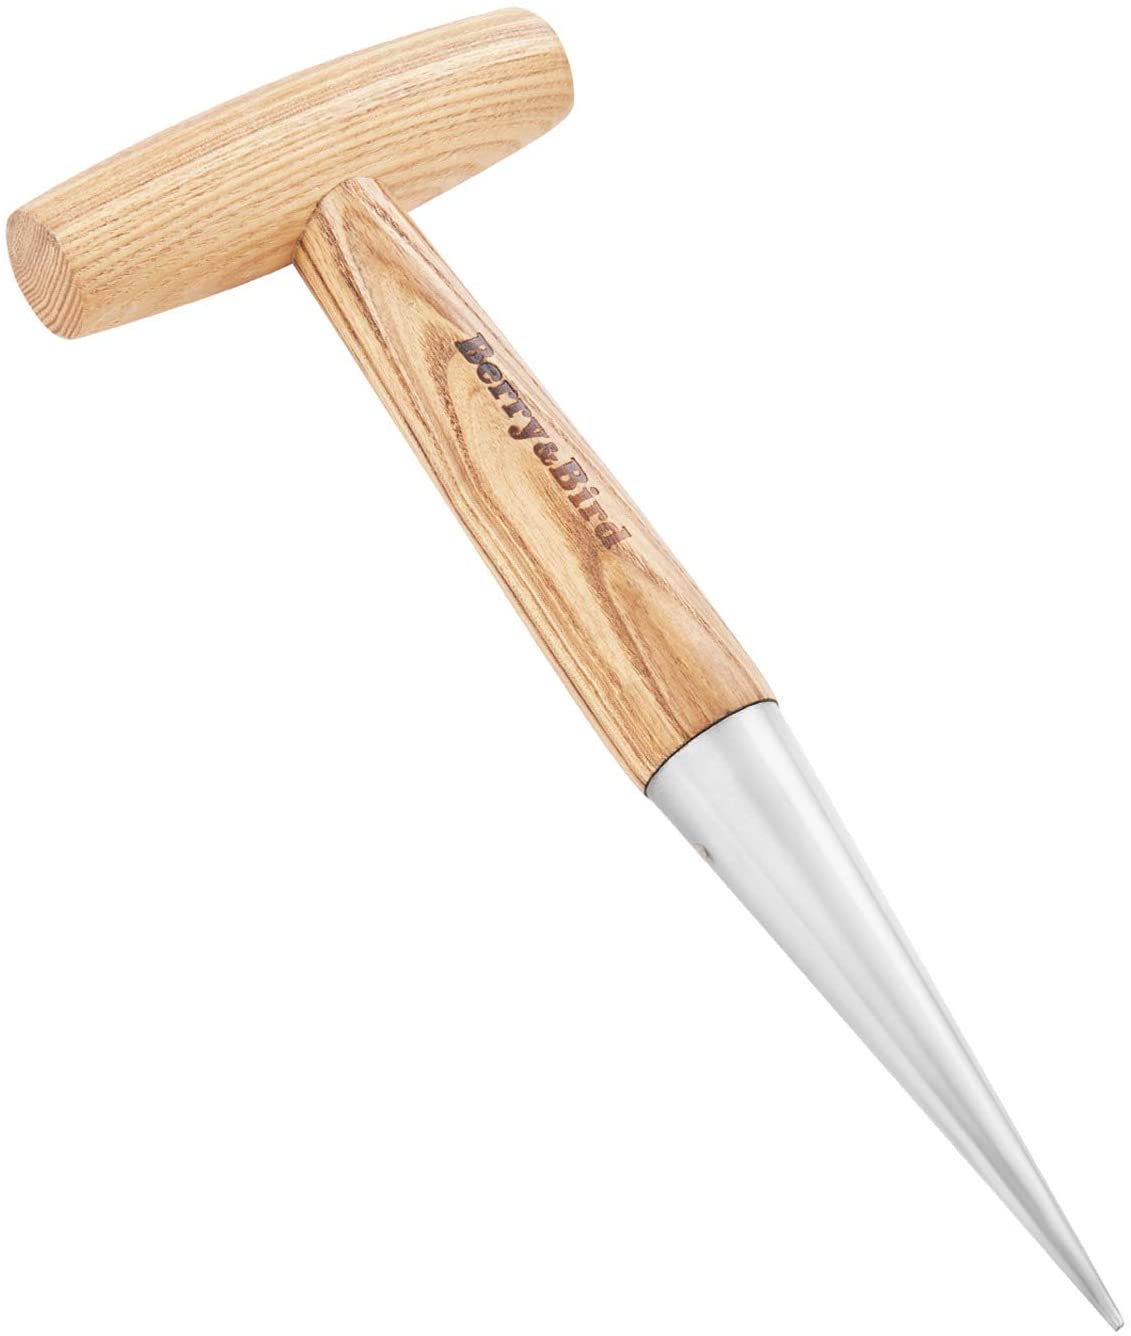
You can plant small bulbs like snowdrops and narcissi with a long-handled dibber.
Get your Long Handled Dibber on Amazon.
- Scooped Shovel
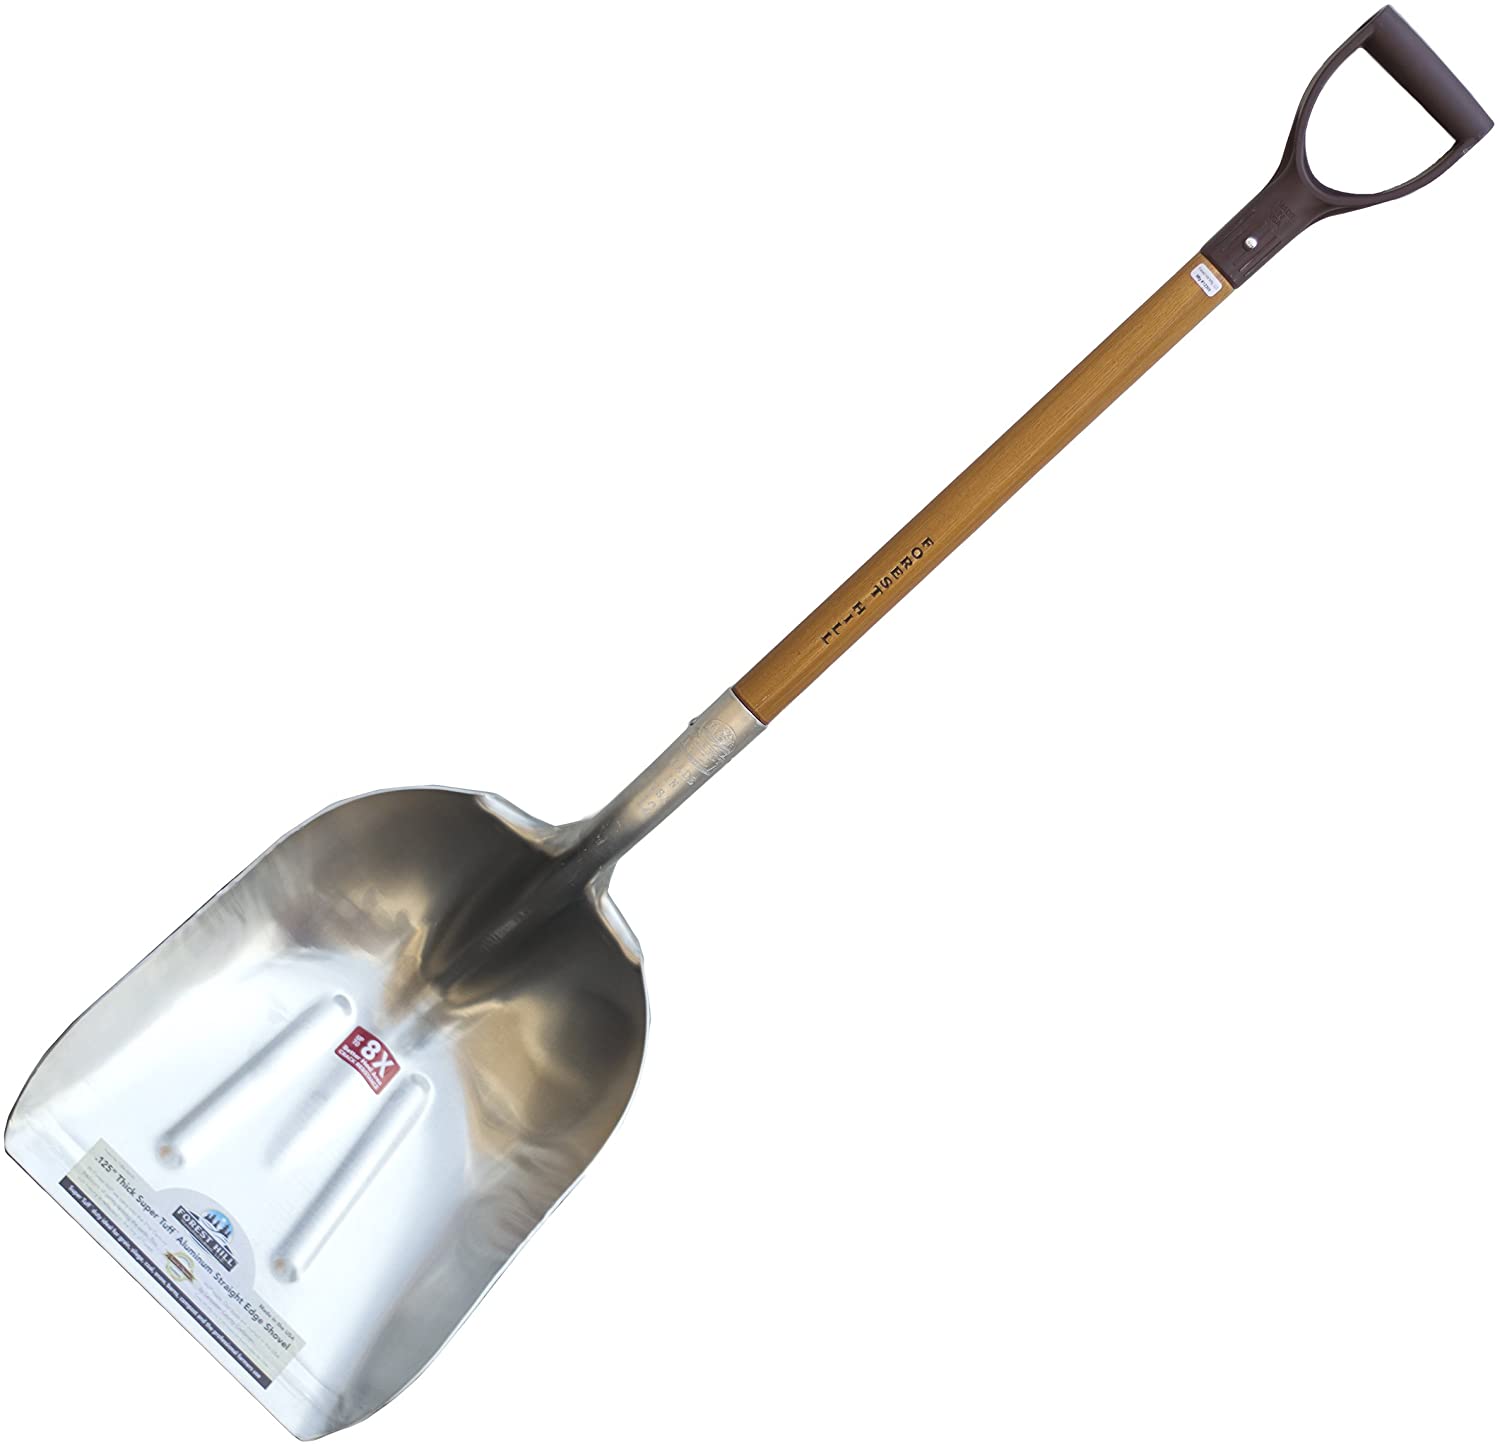
The scooped shovel removes loose material like gravel and sand.
Get your scooped shovel on Amazon.
- Bulb Planter
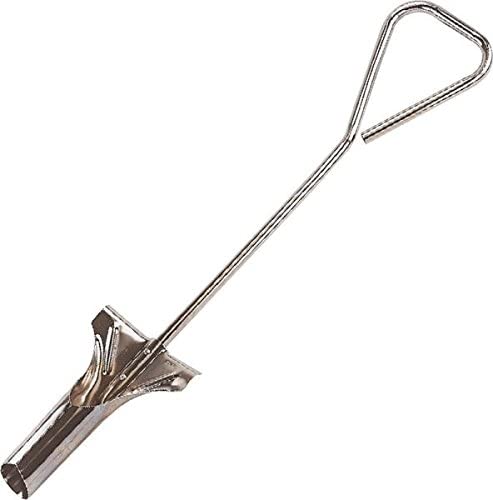
This stainless steel tool will last for many years and is an essential tool in the planting of bulbs. A solid stainless steel blade provides long-lasting durability, while the Eva grip is ribbed for comfort.
Get your BulbPlanter on Amazon.
- Crop cover

A lightweight crop cover will protect the soil from wind and frost but still allow water to flow through. It protects seedlings from the coldest periods of winter.
Get your Crop cover on Amazon.
- Trowel
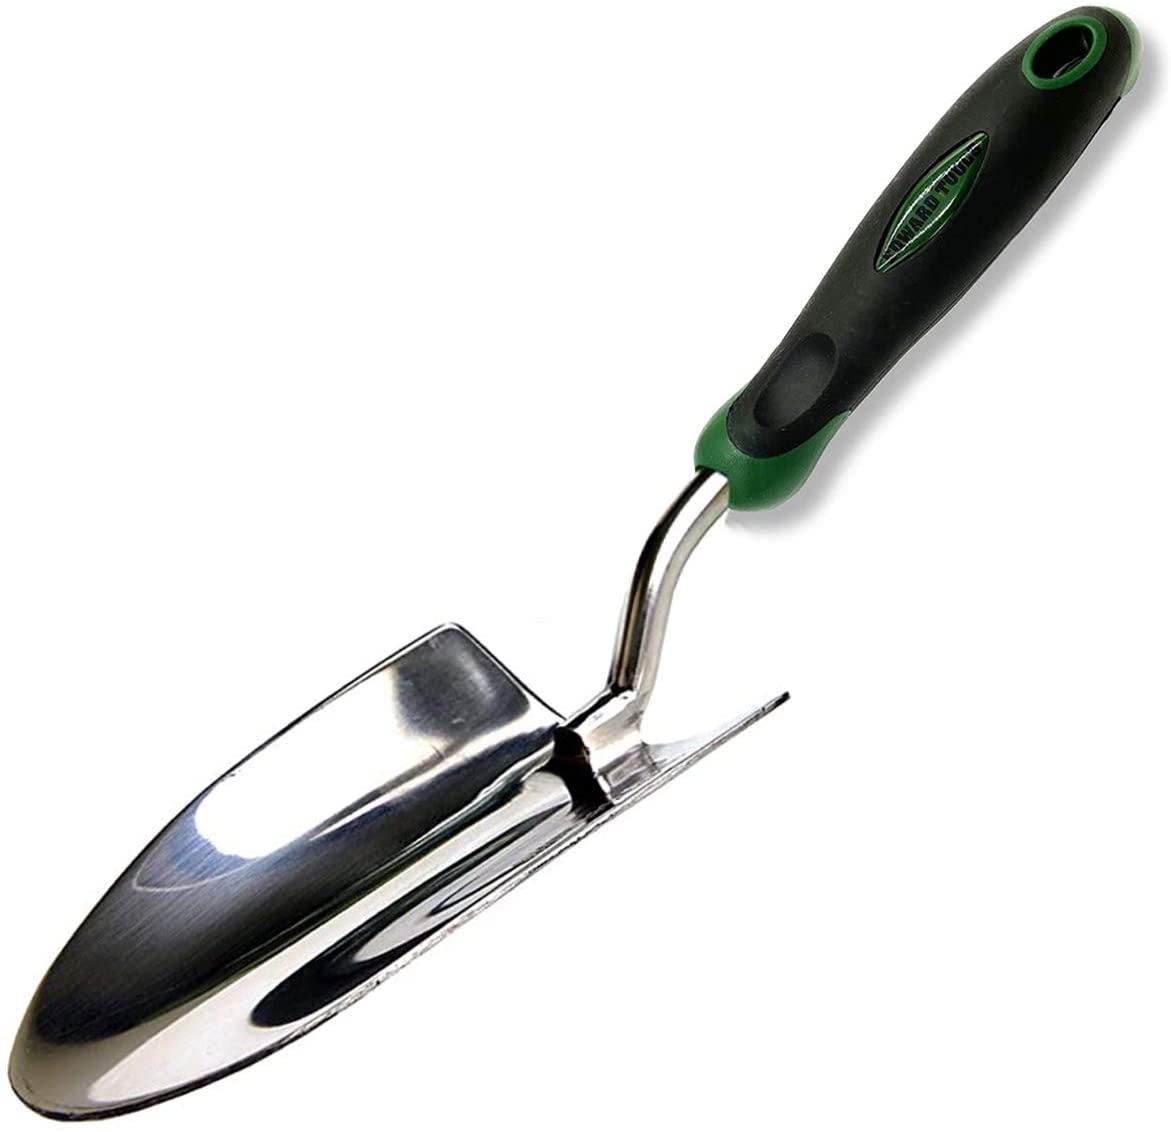
The Trowel, a versatile and lightweight tool with a deep foot tread is tough enough to tackle even the most difficult jobs.
Get your Trowel on Amazon.
- Hedge Shears
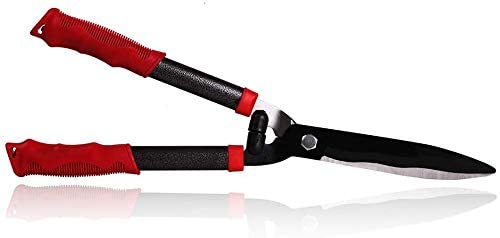
These shears can be used to trim thicker branches with ease. However, the shorter blades of these shears are perfect for fine pruning.
Get your Hedge Shears on Amazon.
- Spade to the rescue

The trenching spade, which is sharp on one side and flat on the other, dig up tree stumps. You can scoop the earth out with the flat side, while the sharp edge will cut into the roots.
Get your Trenching spade on Amazon.
- Rake
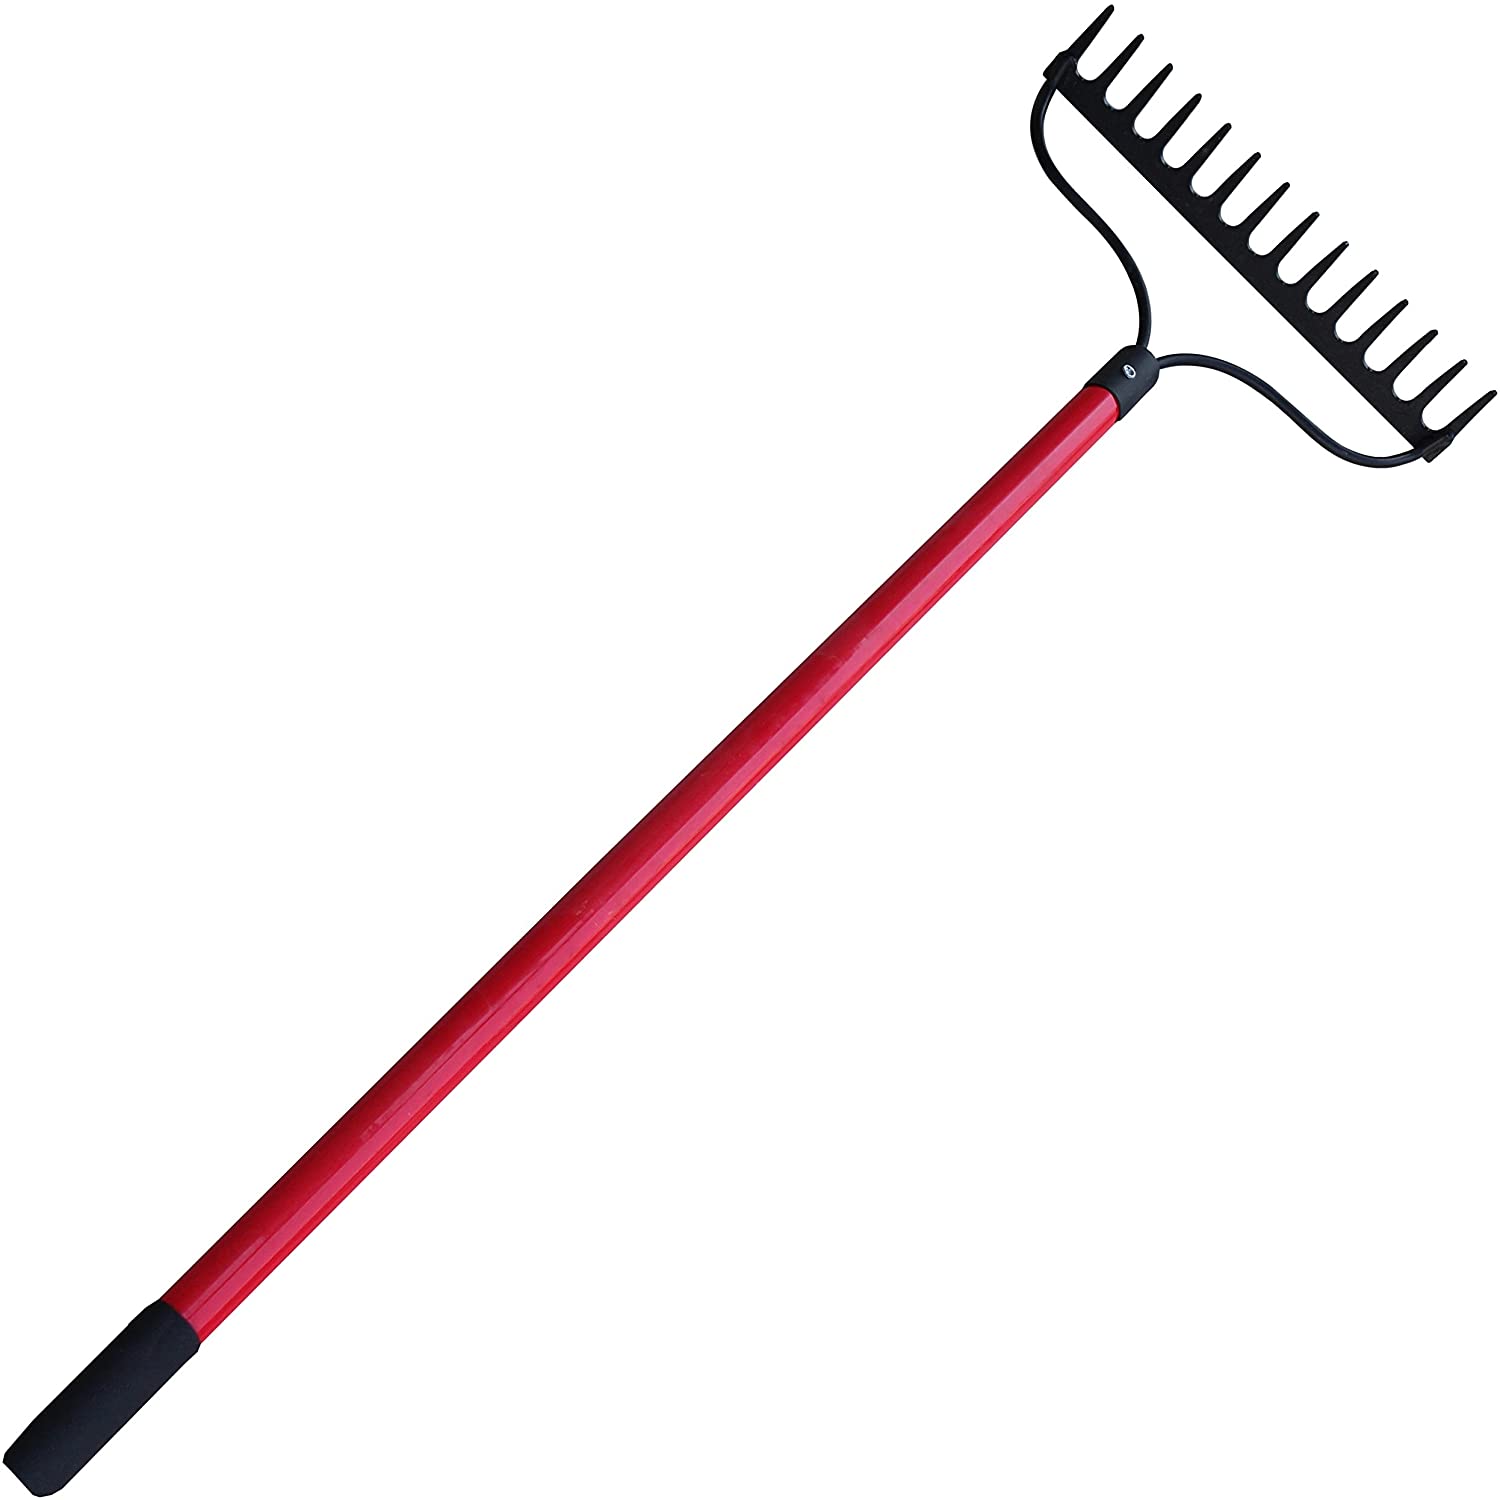
A rake that has long plastic or wooden tines can be very useful in working soil in raised beds. It can also be used to remove leaves from dead stems.
Get your Rake on Amazon.
- Hand Weed Remover

The handweed removal tool allows you to easily remove weeds from the ground. It has a hook that allows you scoop out soil between plants.
Get your hand weed removal tool on Amazon.
- Trug
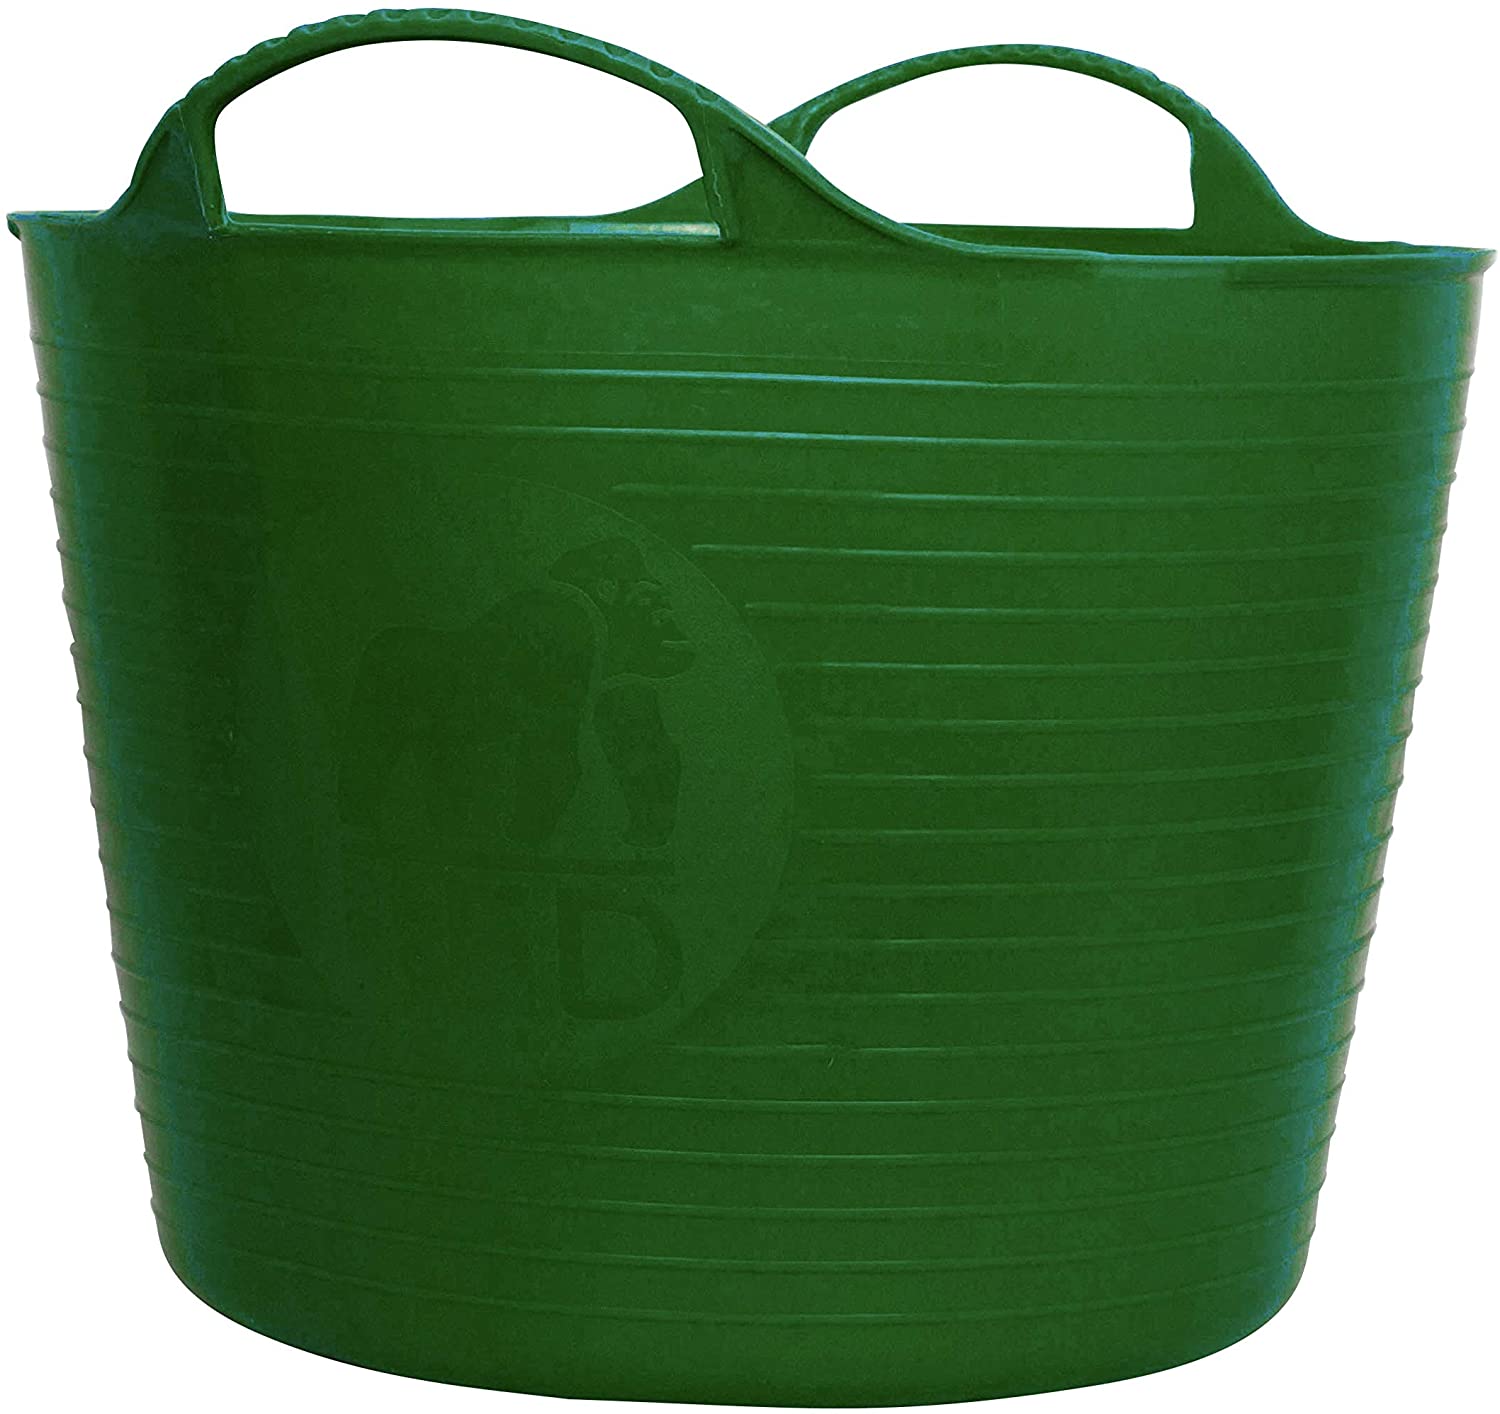
Ideal for carrying and transporting loose items such as potting compost, bark chippings, and more, the Trug is surprisingly lightweight yet very durable. Its high sidewalls give it incredible strength. The Trug can also be quickly emptied if it is turned upside down.
Get your trug on Amazon.
Conclusion paragraph If you have a favorite, please share it in the comments below! What caught the attention of you? Let us know, and we'll see if we can help make that an even better topic for a future blog post or article on this site. Enjoy your time outside, and get some sun before winter sets.
FAQ
How do you prepare soil for a vegetable gardening?
It's easy to prepare the soil for a vegetable gardening. The first step is to remove any weeds that may be in the area where your vegetable garden will be planted. Next, add organic matter like composted manure and leaves, grass clippings or straw. Then water the plants well and wait for them to sprout.
When is the best time to plant flowers?
Spring is the best season to plant flowers. It is when the temperatures are warmer and the soil is still moist. Planting flowers should be done after the first frost if you live in a cold climate. The ideal temperature indoors for plants is around 60°F.
What should I do the first time you want to start a vegetable garden?
When beginning a garden, the first thing to do is to prepare the soil. This involves adding organic matter like composted manure and grass clippings as well as leaves, straw, straw, and other materials that provide nutrients to the soil. Next, place seeds or seedlings in prepared holes. Finally, water thoroughly.
What time should I plant herbs in my garden?
When the soil temperature is 55°F, herbs should be planted in spring. The best results are achieved when they are in full sunshine. To grow basil indoors you need to place the seedlings inside pots that have been filled with potting soil. Once they start sprouting leaves, keep them out from direct sunlight. After plants begin to grow, you can move them into indirect sunlight. After three weeks, you can transplant them to individual pots and water them every day.
What kind of lighting works best for growing plants indoors?
Because they emit less heat, floralescent lights are great for indoor gardening. They provide constant lighting that doesn't flicker or dimm. You can find regular or compact fluorescent fluorescent bulbs. CFLs require 75% less energy than traditional bulbs.
Statistics
- According to a survey from the National Gardening Association, upward of 18 million novice gardeners have picked up a shovel since 2020. (wsj.com)
- As the price of fruit and vegetables is expected to rise by 8% after Brexit, the idea of growing your own is now better than ever. (countryliving.com)
- It will likely be ready if a seedling has between 3 and 4 true leaves. (gilmour.com)
- 80% of residents spent a lifetime as large-scale farmers (or working on farms) using many chemicals believed to be cancerous today. (acountrygirlslife.com)
External Links
How To
Basil Growing Tips
Basil is one the most versatile herbs that you can use in your home. It's great for flavoring dishes, adding flavor to soups, sauces, salads, pasta, and even desserts. These are some helpful tips to help you grow basil indoors.
-
Carefully choose your location. Basil is an annual plant that will only survive one season if placed in the correct place. It prefers full sunshine but can tolerate some shade. It is best to grow it outdoors in an area with good air circulation.
-
Plant the seeds. Basil seeds should not be planted more than two weeks prior to the last frost date. You should sow the seeds at a depth of 1/2 inch in small pots. Place the pots in clear plastic wrap. Keep them out of direct sunlight. Germination typically takes around ten days. Once the pots are germinated, you can move them to a place where temperatures remain around 70 degrees Fahrenheit.
-
When the seedlings reach maturity, you can transplant them. Remove the plastic wrap and transplant the seedlings into larger containers. Add potting mix to each container. Add more potting mix as needed. Place the containers in direct sunlight or in a sunny window. Mist the plants regularly to keep them from wilting.
-
After frost danger has passed, add a thick layer to mulch. This will prevent them from frost damage and help to reduce water loss.
-
Water the plants regularly. Basil needs to be watered regularly in order for it to thrive. You can use a rain gauge or a water gauge to determine the amount of water that your plants need. Use a timer to automatically turn off irrigation during dry spells.
-
Make sure to pick basil right when it is at its peak. Pick leaves frequently to encourage bushier growth.
-
Use paper towels or screens to dry the leaves. Store dried leaves in glass jars or bags in the refrigerator.