There are many ways to map your garden layout. You can use Graph paper, Journals, Spreadsheets and even Keyhole beds. Depending on the type of plants you plan to grow, you might want wider rows for taller plants or narrower rows for smaller plants. You can also customize your layout to suit your needs.
Graph paper
Before you begin drafting the design of your new garden, you will need to establish your land's boundaries and determine the exact locations of other elements. You can use graph paper with a pencil to draw a plan that will show you the locations of your plants and other elements. Also, you should mark the exact positions of these elements using markers.
To mark different areas, you can use rectangles with no fill and dark borders. Next, add details to the design. This will save time and effort every single year. You can modify the colors and line thicknesses of the lines to make the garden look how you like it.
Next, measure your plot to begin designing your garden layout. For small properties, one square represents about four feet. You might need a bigger scale for larger properties. You should use graph papers with a scale 1/8 inch per ft. This scale will allow you to draw precise plans.
You can use graph papers as well as a workbook-style gardening journal to help guide you through the planning process. If you become overwhelmed by the process, this journal will help. It can also be used as a reference tool and resource for past seasons. Meadow Belle’s Vegetable Garden Layout Planning Workbook (and My Garden Journal by Quiet Fox Designs) are excellent examples.
Spreadsheets
Spreadsheets may be useful for planning your garden. Spreadsheets can help you organize your garden, label specific areas, color-code the different types of plants, and drag various shapes into place. You can add notes or save your garden design. These tools are great for amateur garden designers as well as professionals. These spreadsheets are useful for amateurs and professionals alike.
First, ensure you have a precise scale for your cells. You should calculate the length and width in square feet. As an example, each horizontal row should equal one standard garden line and each cell should equal one foot in length. You can leave more space between rows to improve accuracy. This is crucial because you want your diagram precise.
Another helpful tool is an Excel spreadsheet. It features tabs for Seed Data, Planting Data, Feeding/Fertilization, and Notes. This lets you input various details, including the type, sow date, source, and year. You can also record the growth and germination of the seeds. The Task List tab is a useful tool that allows you to add tasks to the garden. This worksheet will help you plan a consistent planting schedule for each season.
First, understand the layout of your garden before you can create a design outline. A spreadsheet will help you determine the size and shape for your garden. Your needs and themes will allow you to customize the outline. You can alter the font size and color.
Journals
Garden layout journals are a great way of keeping track of garden progress. It can help you spot potential problems, and it will save you time and money. You can also use the journal to get helpful tips and information for many garden tasks, such as planting seeds or weeding. These journals can be used to keep track of pests, diseases, and when plants require watering or harvesting.
Garden layout journals come in many forms. They can include graph paper and hardbound notebooks. Garden journals can include pages for individual plants. These are great for recording ornamental perennials or shrubs. They provide useful tips, as well as lists of edible plant species. Many journals can also be printed digitally. Your preferences and requirements determine the format you want for your journal.
A garden journal can be a personal diary or a detailed guide. Some people love to write down ideas. A journal makes it easier to compile this information. It can also serve as a mood board and planning tool. It can also be used to store important information, like weather conditions.
A garden layout journal is a great tool that includes a simple calendar and notes about gardening. These planners can include dot grids for your garden layout and monthly breakdowns. A leather A4 folder is a great tool to take notes. It comes in many colours and has a leather wraparound cover for protection. These notebooks are perfect for keeping track of your garden and planning. However, larger sketchesbooks are better if you have to plan more.
Keyhole beds
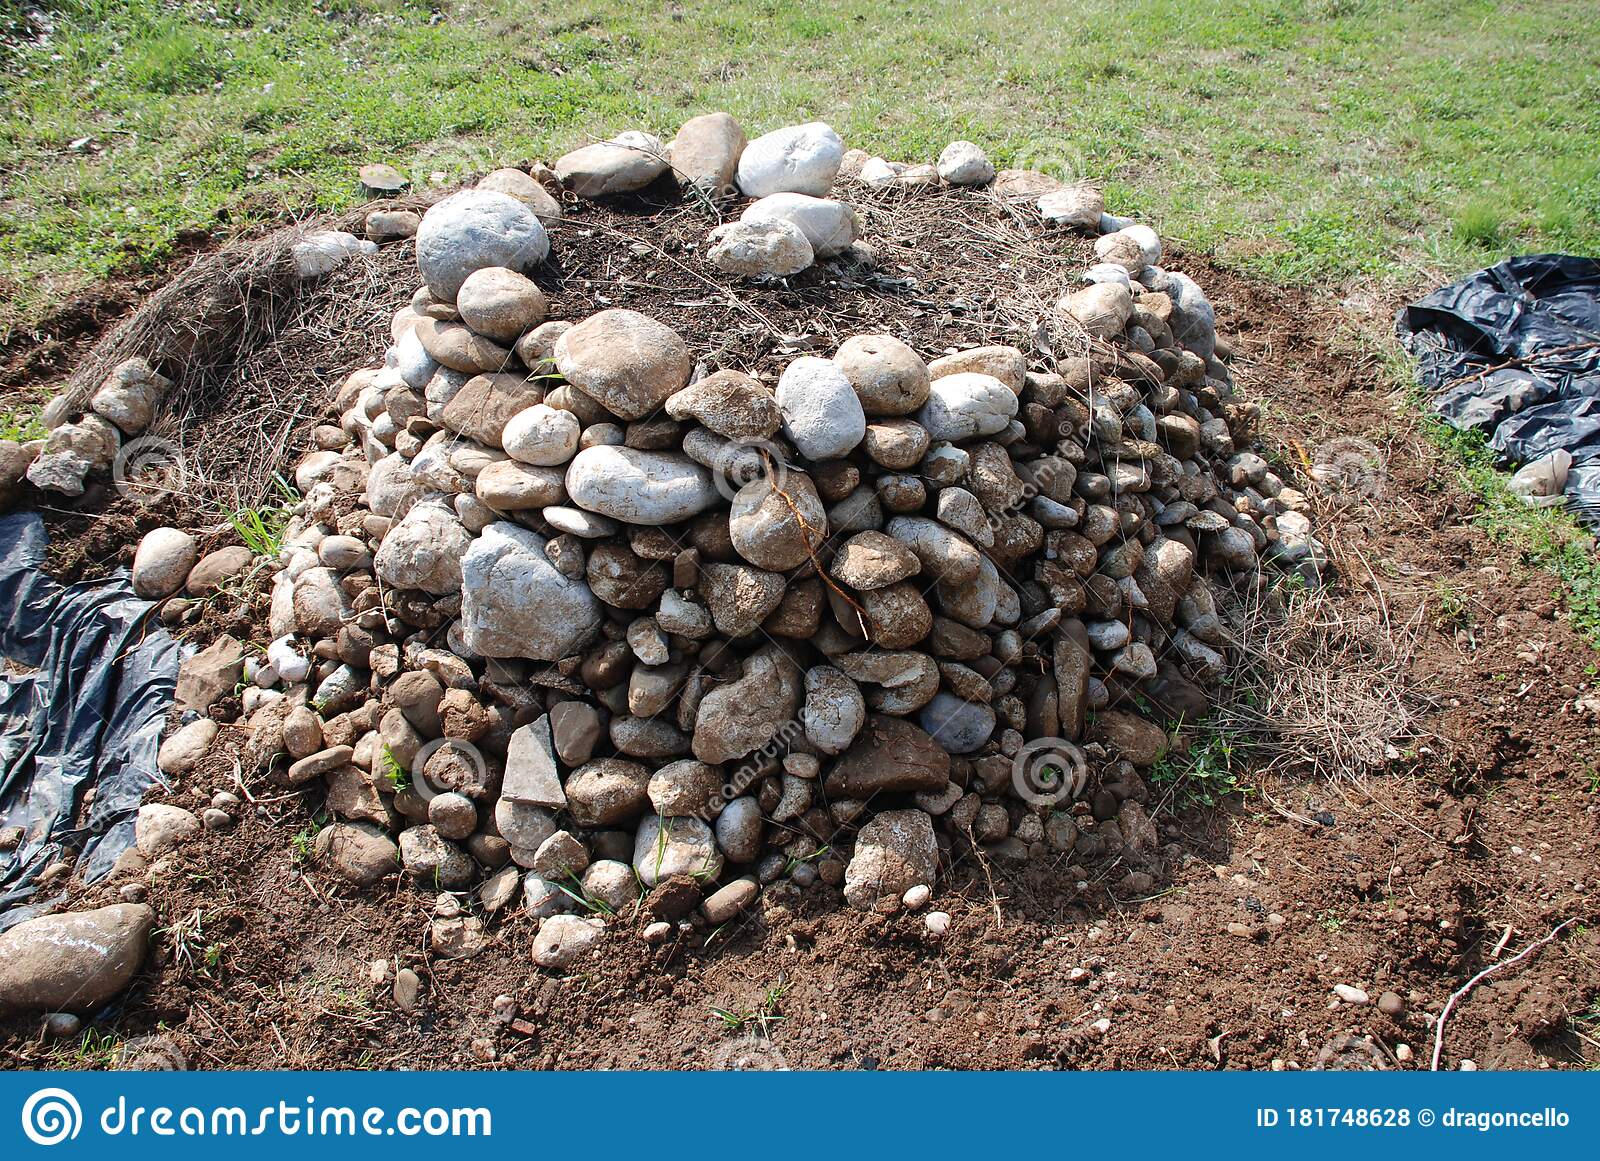
With the right planning, materials and tools, any rectangular garden bed can be converted to a keyhole. For a keyhole-like bed, you can use pavers or cinderblocks, sheet mulching, or cinder blocks. This will also give you an easy way to build soil in any area, including the existing grass.
The first step in creating a keyhole garden is to prepare the soil, and set it for about a week before planting. Then, plant four different kinds of vegetables. This will provide a variety of crops, and increase the likelihood of fertility. Plant leafy greens like lettuce. To protect tomatoes against pests they can be planted in the middle or center of the garden. You can also use carrots or beets as root plants.
A keyhole garden requires multiple layers of soil. There is a layer of topsoil, a compost well, and an inner layer of organic material. The outer layer should be shaped as a keyhole, with a notch that allows for easy access to its inner part. The keyhole design of your garden allows you to reduce watering. The soil will be fed by the organic layers of the keyhole bed, which will eventually decompose and retain its moisture.
The keyhole beds also create different microclimates. The soil close to the compost pile will be fertile, and the soil at the edges will be dry. This will ensure that the plants along the edges are able to benefit from a dry environment.
Vegetable groupings
Vegetable groupings in garden layouts can make growing and harvesting vegetables much easier. It is best to arrange vegetables according to their maturity and growing seasons. The best place to plant early crops is near perennials. Summer crops are better suited for planting close to late-season plants. It is easier to harvest when the maturity dates of your plants are the same.
Vegetable groups can be used to grow multiple types of crops in one space. Additionally, the same plant can be planted in multiple beds. This means you don't have to worry about planting different vegetables each year. Knowing how much space each plant requires will make groupings more manageable.
You can also divide your garden into four equal-sized sections. In other words, you can plant your tallest vegetables on the north side of the garden and your medium-height vegetables on the south side. This method is also applicable to a square-shaped vegetable garden. The only thing you need to do is plan the rows in accordance with the direction of your growth.
Graph paper is another useful tool to plan a garden layout. Graph paper is a great tool for vegetable planning. It gives you an idea of the layout when the vegetables will be planted. It makes it much easier to transfer the vegetable plan into a garden.
It is important to think holistically about garden design
You must think holistically when planning a garden. In addition to determining where to place different plant types, you also need to consider how each one will interact with the others. To ensure that your vegetable garden gets the best sunlight, plan your layout around the sun's path. You should also consider how much shade you plants will receive.
FAQ
Do I have to purchase special equipment in order to grow vegetables on my own?
Non, really. All you need is a shovel, trowel, watering can, and maybe a rake.
When is the best month to plant a vegetable garden in my area?
The best time to plant vegetables is from April through June. This is when the soil is warmest and plants grow fastest. If you live outside of a warm climate, you might be better off waiting until July or August.
What vegetables can you grow together?
Tomatoes and peppers can be grown together because they prefer similar soil conditions. They can complement each other because tomatoes require heat to mature, and peppers require lower temperatures for their optimal flavor. Start seeds indoors approximately six weeks prior to planting. When the weather is warm, transplant the pepper and tomato plants outside.
What is the difference between hydroponic gardening and aquaponic gardening?
Hydroponic gardening uses nutrient-rich water instead of soil to feed plants. Aquaponics combines fish tanks with plants to create a self-sufficient ecosystem. It's like having a farm right in your backyard.
Statistics
- According to the National Gardening Association, the average family with a garden spends $70 on their crops—but they grow an estimated $600 worth of veggies! - blog.nationwide.com
- Today, 80 percent of all corn grown in North America is from GMO seed that is planted and sprayed with Roundup. - parkseed.com
- 80% of residents spent a lifetime as large-scale farmers (or working on farms) using many chemicals believed to be cancerous today. (acountrygirlslife.com)
- Most tomatoes and peppers will take 6-8 weeks to reach transplant size so plan according to your climate! - ufseeds.com
External Links
How To
How to apply foliar fertilizers
Foliar fertilizers are applied to plants directly by spraying. In addition to providing nutrients to the plant, they help increase photosynthesis, improve water retention, prevent disease, increase resistance against pests, promote growth and development, and provide protection from weather conditions. They can be used to treat any plant, including fruits, vegetables, flowers, trees, shrubs, grasses, and lawns.
Foliar fertilizers can be applied without soil contamination. The fertilizer required depends on the type and size of the plant as well as how much foliage it has. It's best to use foliar fertilizers when the plant is actively growing. This will allow them to absorb nutrients quicker. These steps will help you fertilize your garden.
-
It is important to know the type of fertilizer that you need. Some products only contain one element, while others may include multiple elements. If you aren't sure what product you need, ask your local gardening center.
-
Carefully follow the instructions. Read the label before application. Spraying near windows and doors can cause damage to the structure. Keep away from children and pets
-
If possible, use the hose attachment. To avoid spraying too much, turn off nozzle after every few sprays.
-
Be careful when mixing different types of foliar fertilizers. Mixing different types can result in harmful effects like burning or staining leaves.
-
Spray at least five ft from the trunk. The trunk of the tree should be at least three feet from the edge of where you intend to apply fertilizer.
-
Apply only after the sun has set. Sunlight causes light sensitive chemicals in fertilizer, to breakdown.
-
Spread the fertilizer evenly among the leaves. For large areas, spread the fertilizer with an even hand.
-
Allow the fertilizer time to dry completely before watering.